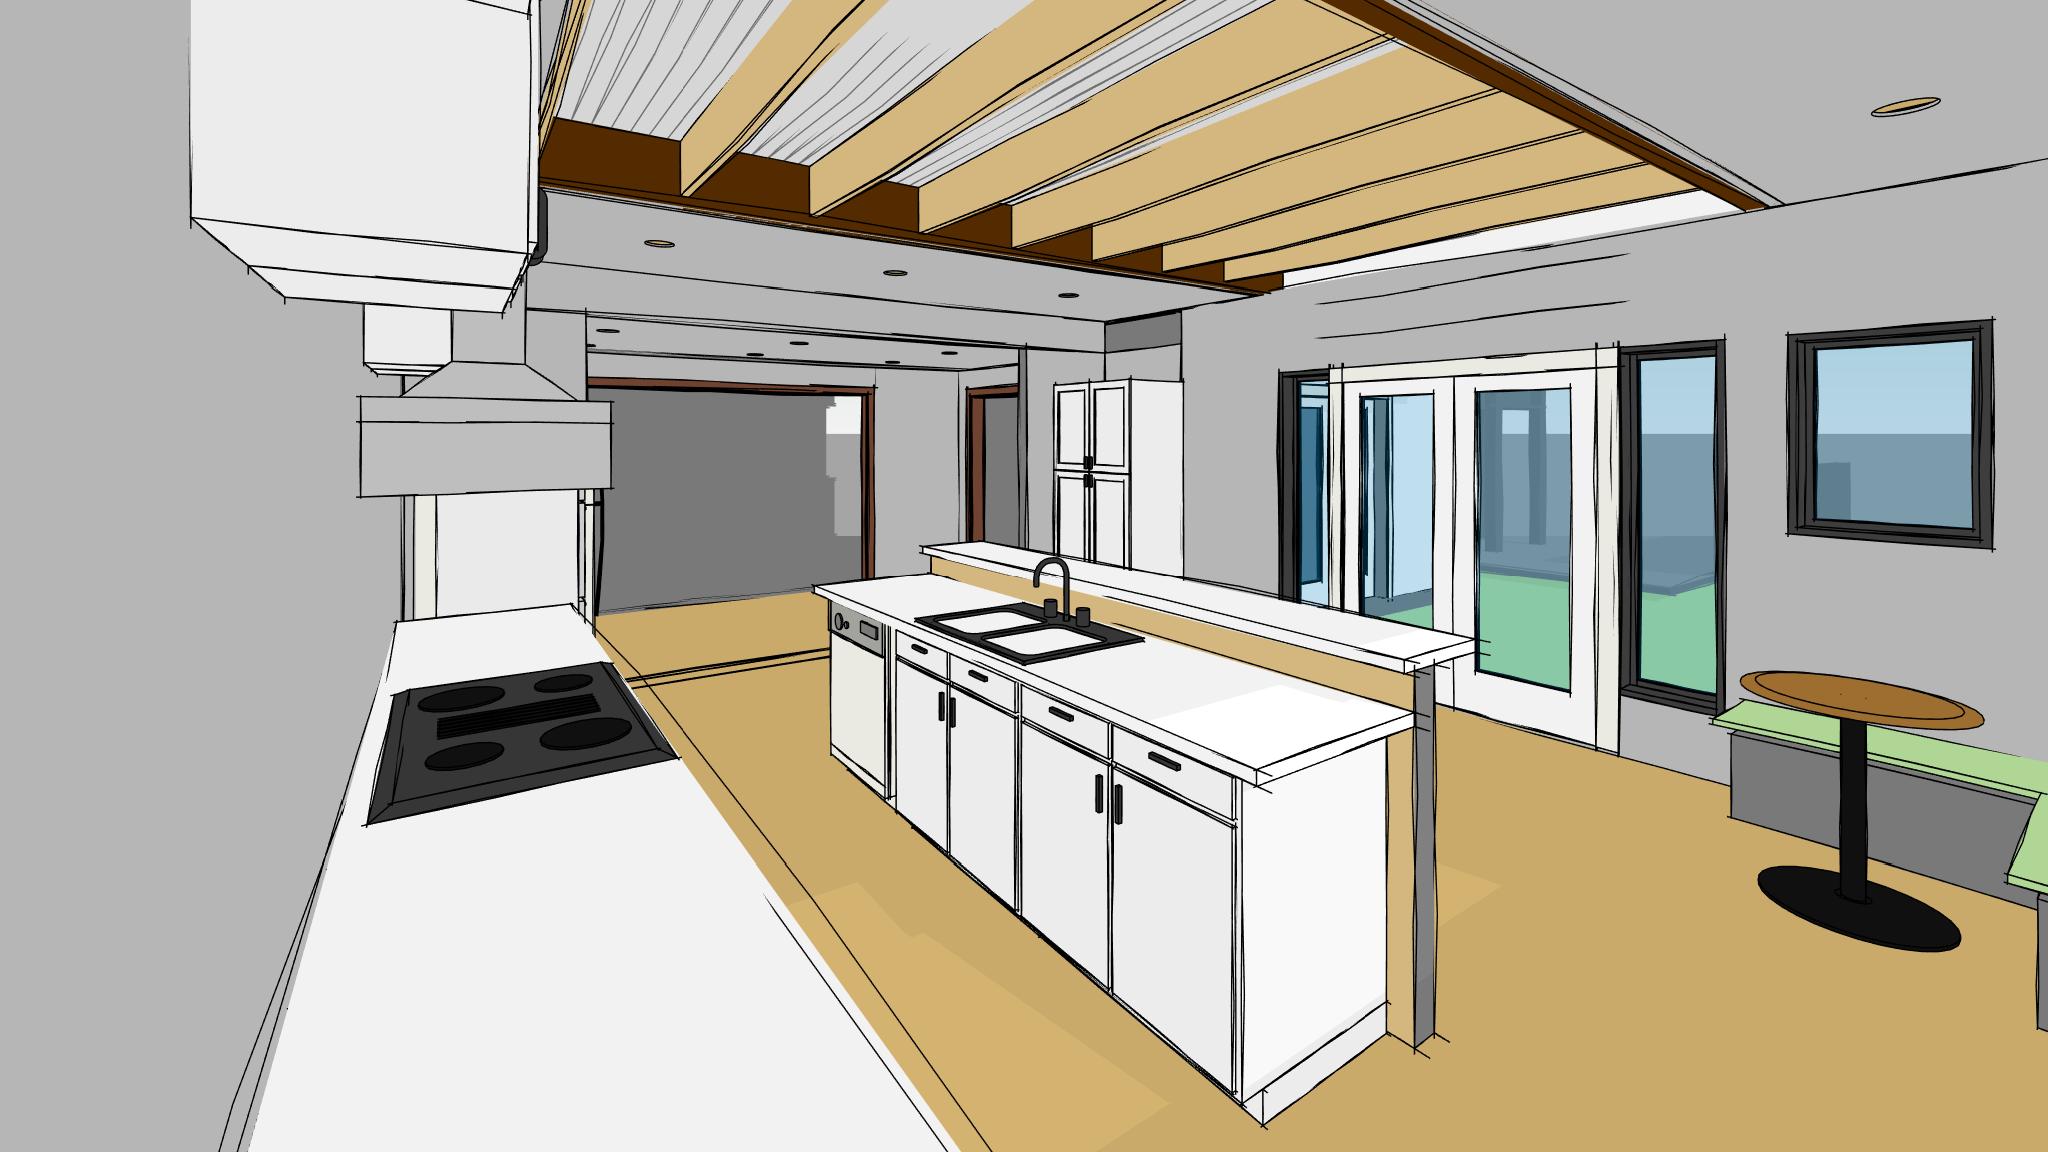
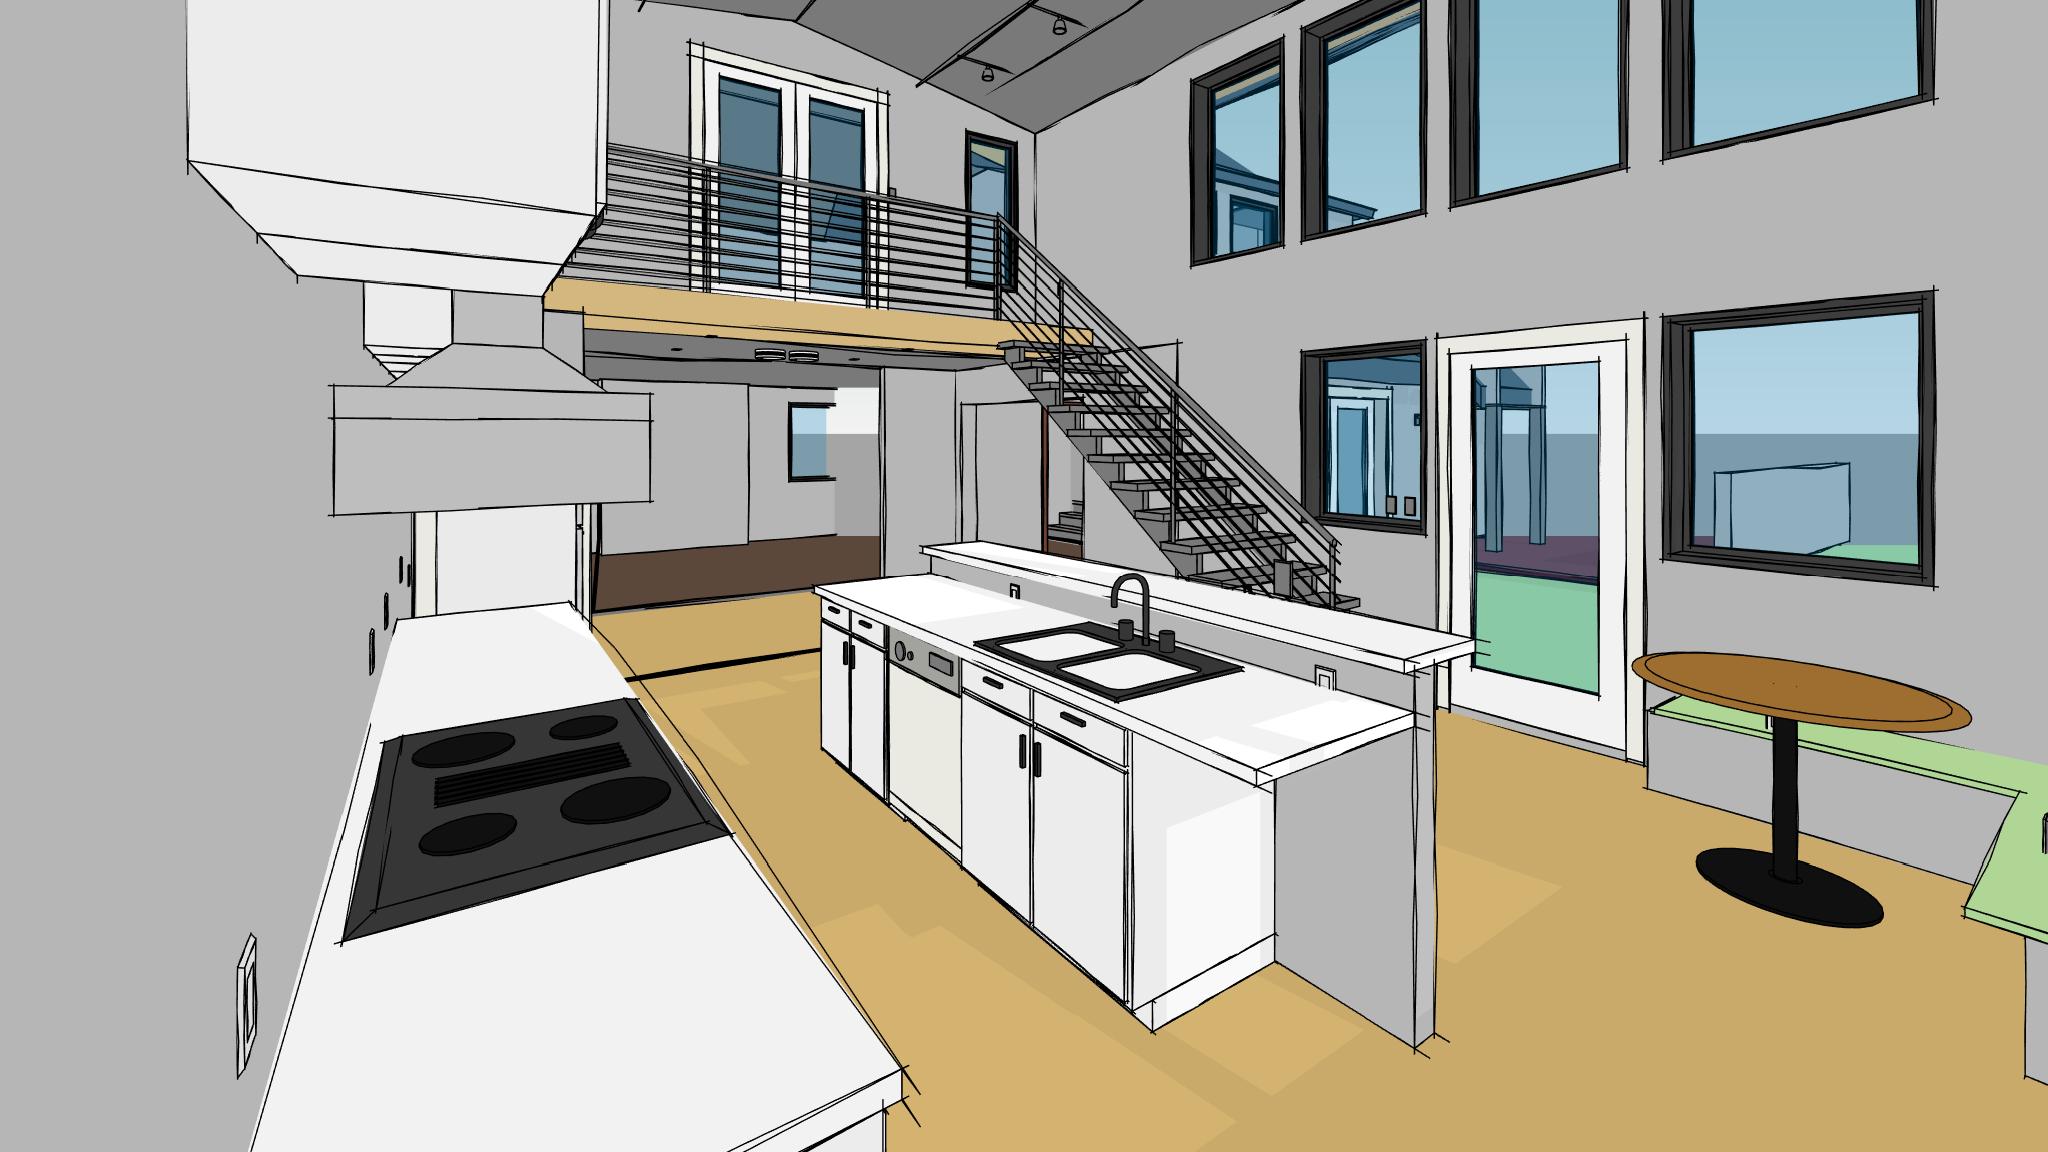
Exposed Joist Ceiling
A stylish home renovation idea for your new project could be an exposed joist ceiling. We covered this briefly in a previous blog about design changes, but it’s a great topic to discuss further.
Leaving the structure exposed is a bold architectural move, that in many cases can be the defining design element of a space or building. Some famous examples are the Pompidou Center in Paris (Renzo Piano + Richard Rogers), Hearst Tower in New York (Sir Norman Foster) the Beijing National Stadium, aka Bird’s Nest (ai WeiWei and Herzog + de Meuron) or the Capital Aikikai dojo in Silver Spring, MD (Mangan Group Architects).
Architects discuss exposed structure as a design element philosophically, by referring to the honesty of the design. The skeleton wants to be revealed so to speak, so that the building is not hiding anything. To be honest, the structure and other materials of a building should be represented in their truest nature. This idea was formally presented by the British architecture critic John Ruskin in his 1849 book, The Seven Lamps of Architecture.
For your project, leaving the ceiling joists exposed is a great way to define a special space or increase your ceiling height. Plus, it looks really cool.
As with most cool design elements we tend to work in, actually achieving an exposed joist ceiling is not as simple as browsing Pinterest and sending the pictures to your contractor. The three main concerns we have with this design are Code, Aesthetics and MEP.
Code:
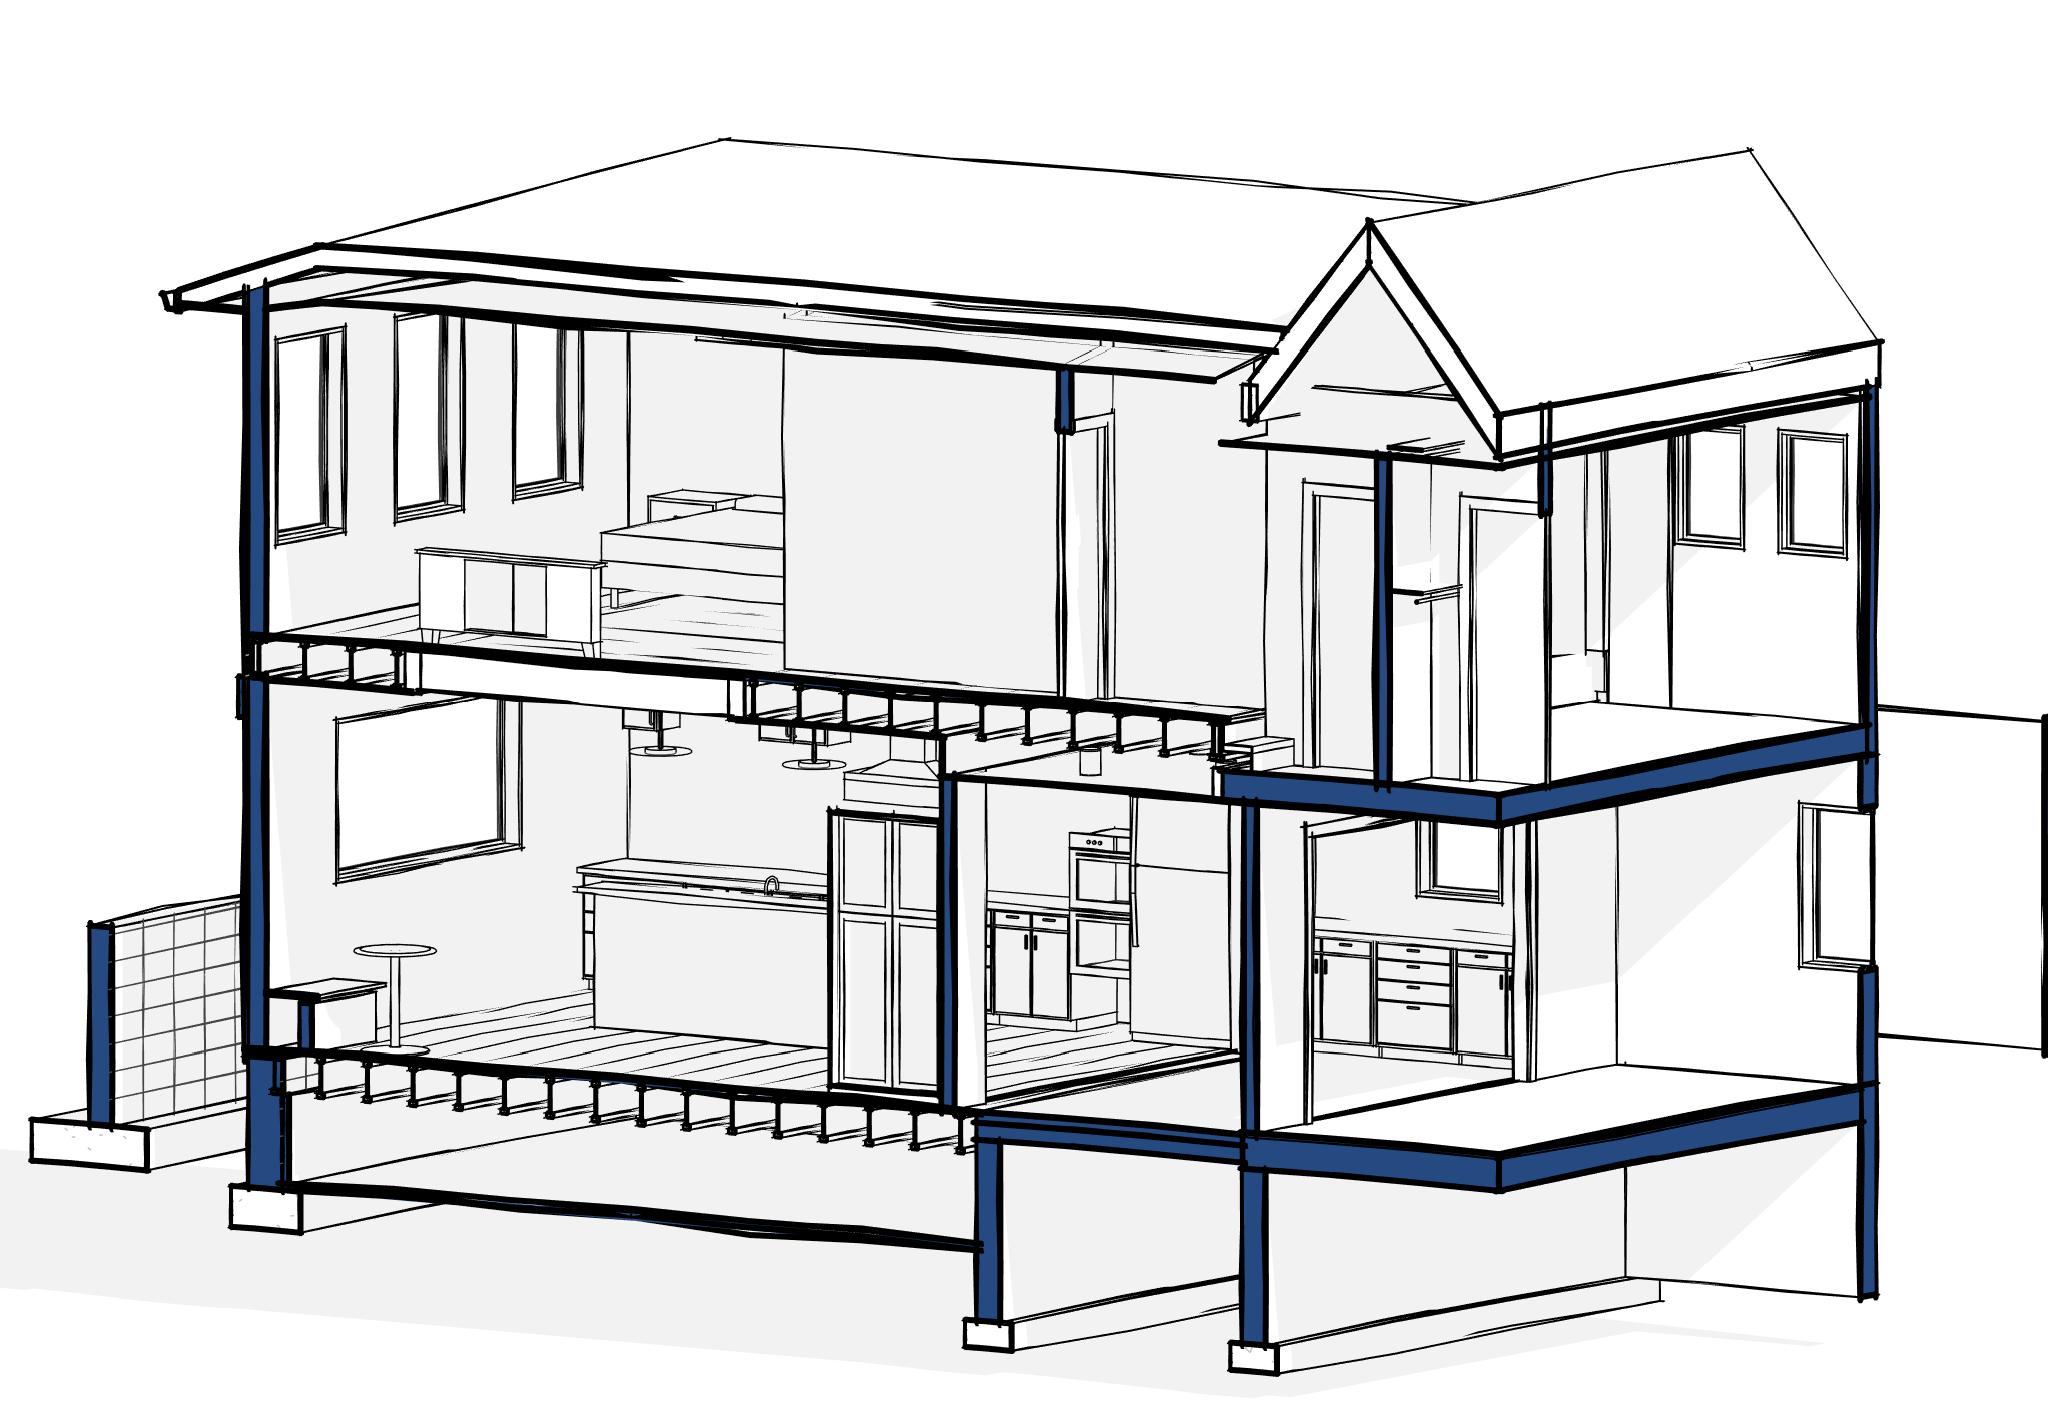
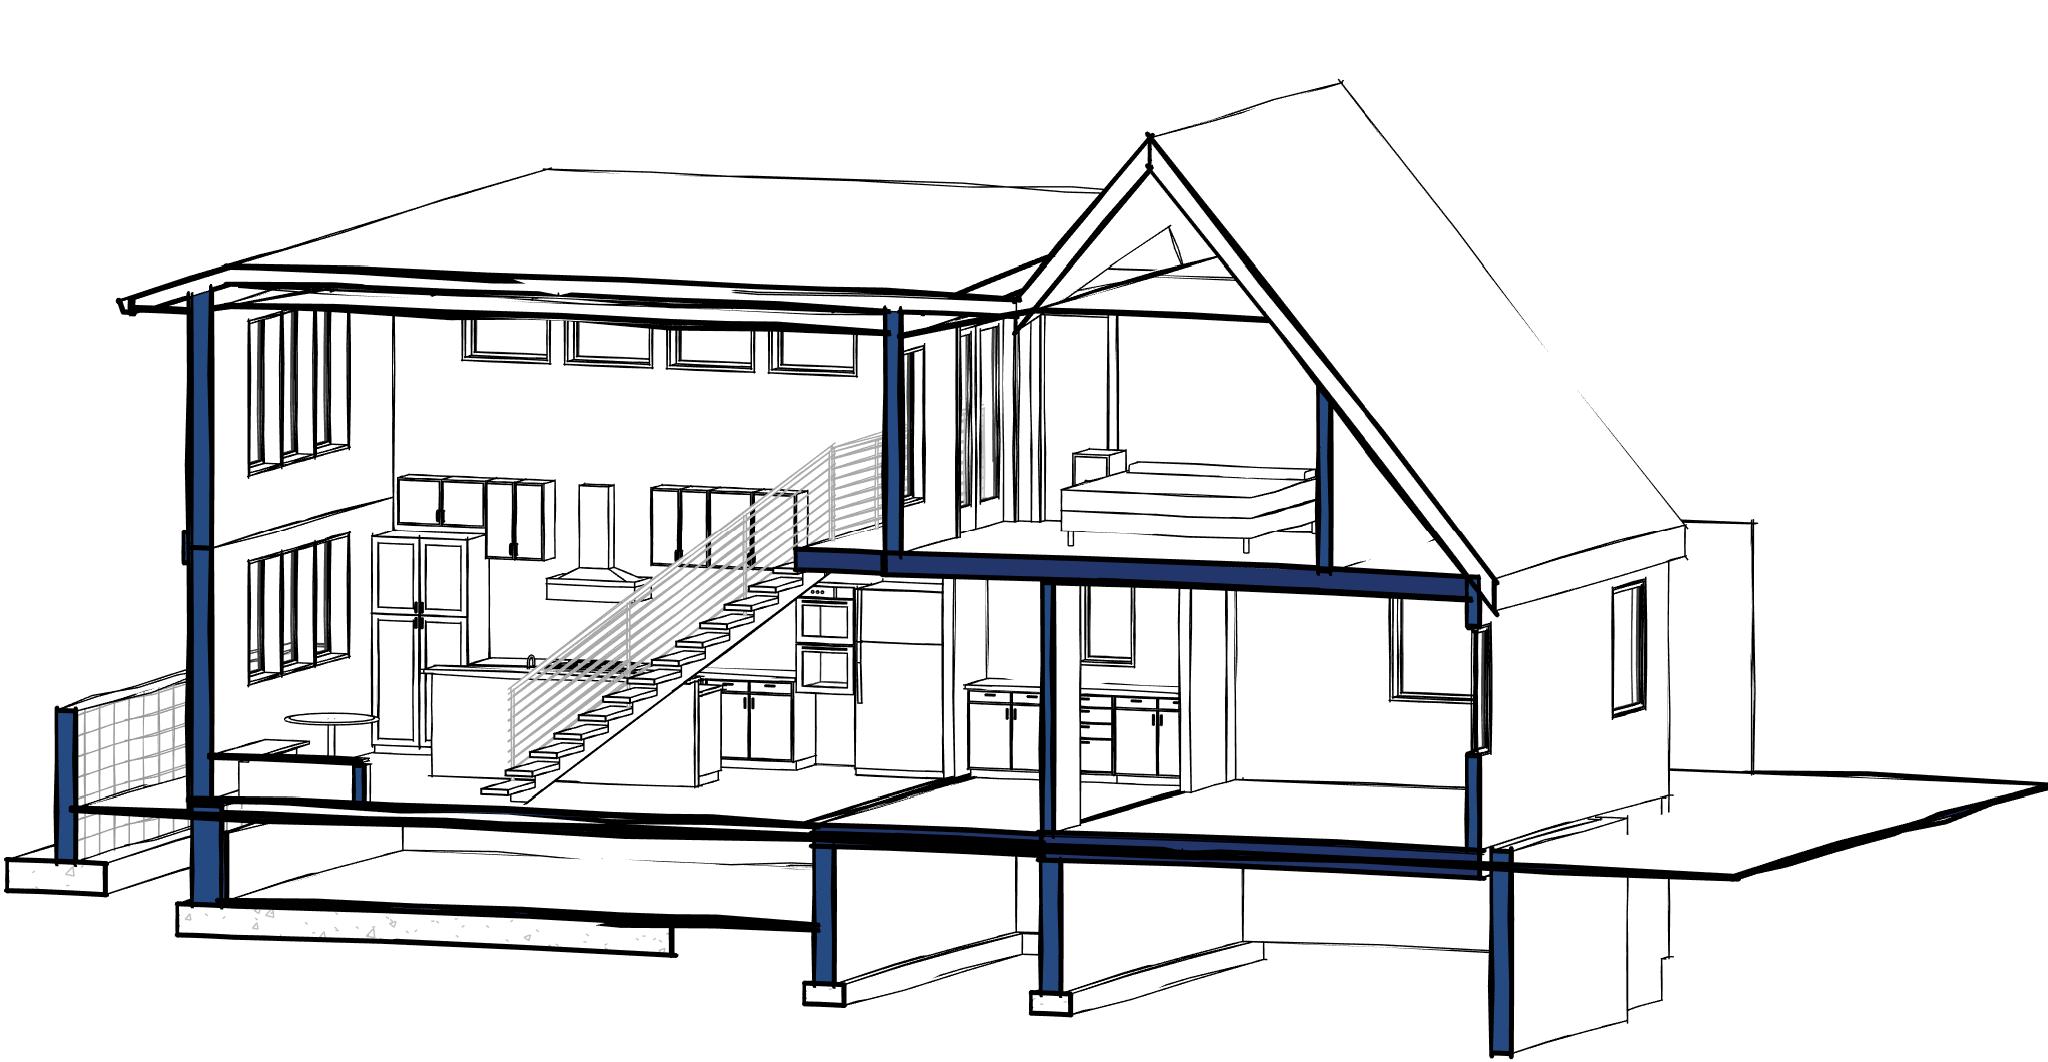
In many jurisdictions the International Residential Code is the document with which your project will have to comply. On the topic of exposed structure, or more specifically, Fire Protection of Floors (Section R302.13) the code allows exposing the structure of the floor above if you keep it to a small area (less than 80 sq. ft), have sprinklers, or use 2X10 lumber or bigger. This basically means you can’t use a plywood web joist as your design element. You must use dimensional lumber or engineered wood beams.
Aesthetics:
Given the above, the first decision should be what structural material to actually use for your structure. We particularly like the look of lumber, but you will need to choose high-quality boards, likely graded #1 or higher. Do you want to paint them? Stain them? Trim them with a nicer veneer?
You also have to consider the rest of the building materials you will see. The plywood that is probably going to be used for the subfloor above isn’t meant to be seen, and won’t look great. It will probably have painted on brand names or other identifying marks. This exposed area, between the joists, could be finished with drywall, beadboard, reclaimed wood, sanded plywood, the list goes on and on.
There is also the issue of how the structure itself is supported. Normally the 2nd floor joists will sit on the 1st floor walls, but you can’t leave this area exposed for a few reasons, insulation being a primary concern. You could use joist hangers to hang the floor joists on an architectural grade beam but you will need to pick an architectural grade hanger…these are also not items that are generally built with the intent of being displayed prominently.
MEP (Mechanical, Electrical, Plumbing):
Do you need to get any pipes, wires or ducts across your ceiling where you intend to leave it exposed? That could complicate things. The easiest solution would be to route any plumbing or ductwork to avoid your exposed ceiling area. Ductless mini-split HVAC systems are becoming very popular, and can help resolve this issue. You could also choose to run any ducts parallel with the structure. Check out how we did that at our Mangan Group Architects Studio.
Plumbing pipes need to be insulated, and there is not a great way to make this look good.
Electrical wiring should not be exposed either, but can potentially be hidden above your ceiling finish material. As mentioned above, you can finish the space between the joist with a number of different materials. If you add some 1x3 furring strips before attaching the ceiling finish you will provide yourself a channel for routing the needed electrical wiring.
Review
As you can see, lots of thought has to go into actually creating that exposed ceiling look. With proper planning and an understanding of some of your limitations there's no reason you can't create this in your project too. Comments? We'd love to hear your thoughts!